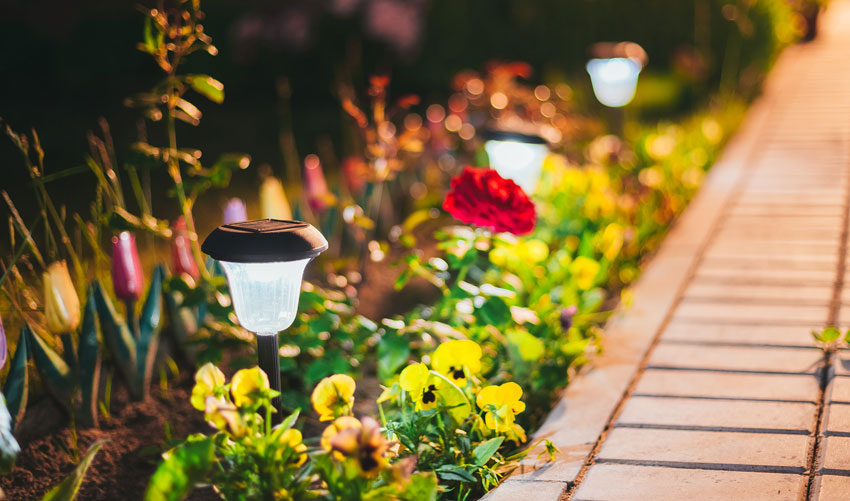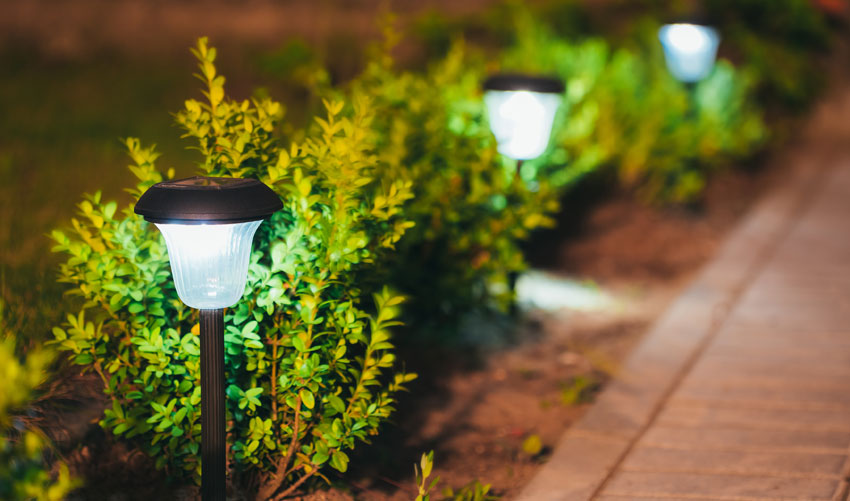
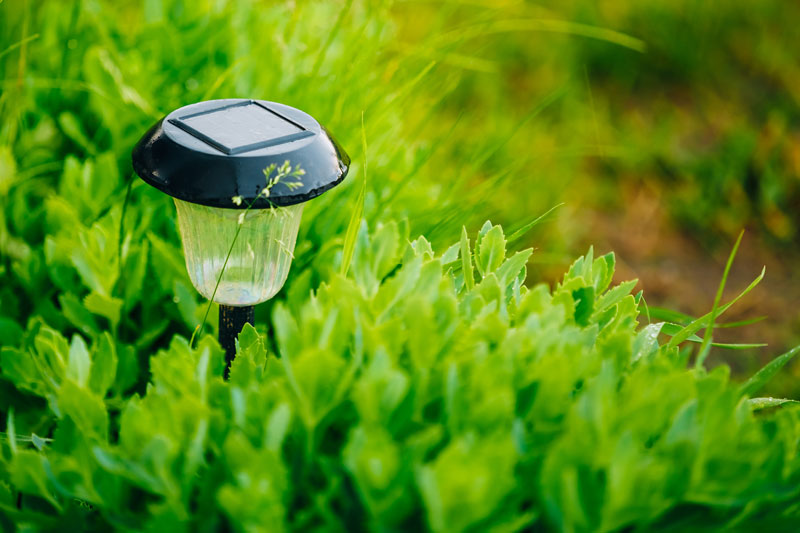
Solar lights are growing in popularity. From backyards to off-grid enthusiasts, solar-powered lights are becoming the norm in many different aspects of our lives.
Of course, most people buy their solar lights from stores or otherwise have them prepared as part of their bug-out bags. Yet, many people still wonder how solar lights are made.
This mini-guide will show you how to make a solar light from scratch.
There are many different ways to make a solar light from scratch and depending on your needs, size, and technical capabilities, what you need to make what you want could vary. However, here are the basic necessities for making your solar light from scratch:
Parts
- Solar Panel (2V)
- Rechargeable AA / AAA battery (Yes, you are going to need a battery. Most conventional, store-bought solar lights need a battery too.)
- PCB circuit board
- Led light
- Battery holder
- Wires
- Switch (If the circuit board does not have one.)
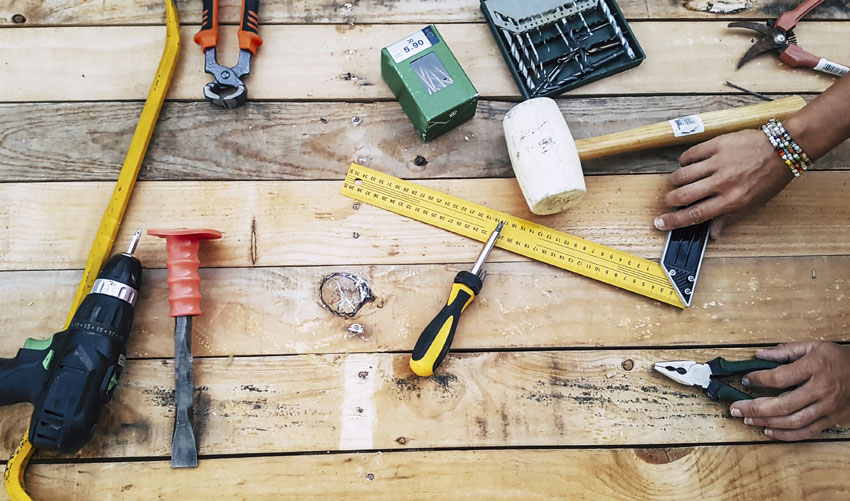
Tools
- Wire nut or soldering machine
- Wire snipper and cutter
- Super Glue or a hot glue gun
- Container (Weatherproof)
- A Sharp Tool/Drill
Things to Remember
While it is not difficult to make a solar light from scratch, it does come with its challenges. Always remember that you are dealing with electricity and that you are assembling a light that has certain restrictions and different variations, depending on the parts you use. So, there are a few bits of information that are helpful to keep in mind when you are getting all your parts:
Batteries: When you are selecting your batteries, don’t worry about getting AAs or AAAs. Either will work for this project. The thing you need to be most concerned about is that the batteries are rechargeable. A good rechargeable battery, if well-maintained can last up to 5 years.
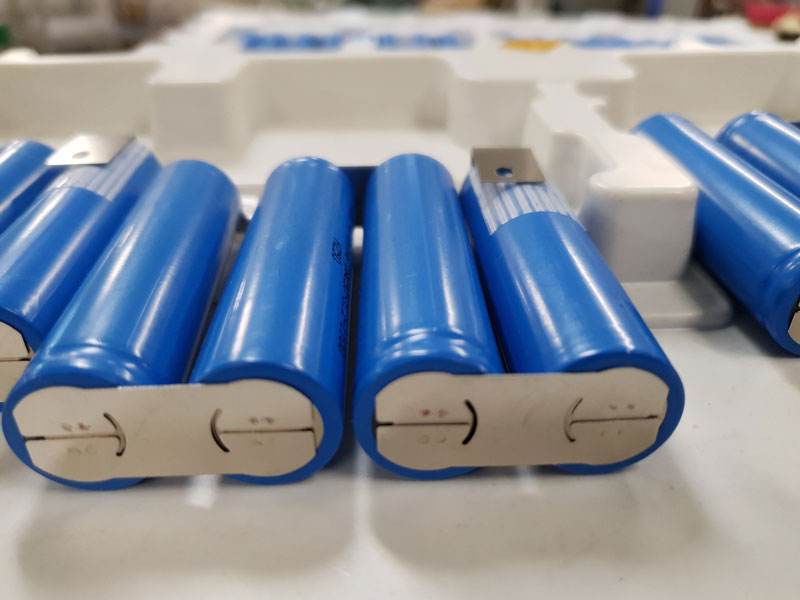
Additionally, when you are looking at the different batteries, make sure you have NiMh batteries. nickel-metal hydride (NiMh) batteries have a better storage capacity than other types of batteries. Plus, NiMh batteries are better for the environment, and they last longer even, even when the weather is cloudy.
Size: When you are purchasing your parts be aware of the sizes. Make sure everything you get is compatible with both size and product. The last thing you want is to hit a snag because your container is not big enough to hold all your components.
Wires: You are going to need 14 Gauge red and black wires since your voltage, and likely the length of your wires, are going to be less than one foot. You don’t want to get wires that offer access to too much power because that could override the system and short it out. Worse, it could cause a fire, so you need to be aware of the power your wires can handle.
Please Note: Depending on the type of solar panel components you collect, you may not need to get wires. A lot of the different components that you will be getting will be ready to connect and therefore, it will have wires. If possible, use these but if you do not have wires (or you do not have enough wire) you will need to get your own. Either way, it shouldn’t be too financially inconvenient and it shouldn’t be difficult to find the right wires.
LED Light: Since the light is the main point of this project it is important to get the right LED light: Use a 0.5W straw hat white LED light. This specific type of light is extremely bright and a single LED with a fully charged battery is enough for your basic lighting needs. (You can use any LED light but there is no guarantee those lights will supply the brightness needed, even on a full charge.)
Additionally, the reason you want to use the “straw hat” is that it has two long diodes that make it easier to work with than other LED lights.
Switch: You can get a circuit board with a switch but if the board you choose does not have a switch, you can connect this to the circuit board too. This can be done using the same method of connection that you choose to use to connect the battery holder to the circuit board. You can also connect more red and black wires to your circuit board if it doesn’t come with more than one set.
Assembling your Solar Light
This is the fun part! You have all your components and now, you get to put them all together to create your solar light!
- Prepare the Wires. The first thing you are going to want to do is to trim the wires that are coming out of the battery holder, circuit board, and solar panel. You want to make sure that the wires are long enough to work correctly with the system but also short enough that they do not get twisted and take away from the appeal of the light.Remember that the red wires are the positive wires and the black wires are the grounding (or negative) wires.You are going to want to strip the wires to about 1.5 to 2.5 inches inward so that you can easily connect the wires to the different components. (When you are stripping the wires make sure you hold the wire itself and not the component or you risk pulling the wires out instead of stripping the wire.)
- Connect the Battery Holder to the Circuit Board. Always remember to connect the black wires and the red wires together. Never cross your wires. At best, your system will not work if the wires are crossed but it could lead to a fire and/or short out the system.Now, it is time to take the soldering iron, so that you can fuse each of the wires together.If you do not have a soldering iron, you can use a nut, which will help put the wires together almost in the same way you thread a needle. This might not be as easy as it sounds, as it takes some patience. On the nut, there is one side that should be labelled battery. That is where you put the battery holder. You put the circuit board wire into the other side and twist clockwise. Then, you can remove the nut, having created the intended electrical connection.
Afterward, you want to do the same thing to connect the other set of wires together. (It doesn’t really matter whether you fuse the two red wires or the two black wires together first because there is no current yet.)
- Connect the LED Light. This step may or may not be necessary, as some circuit boards come with an LED Light already attached. The issue with this, unless you have the option if you build your own circuit board, is that you do not have control over the light you are using. So, if you want to use the 0.5W straw hat white LED light, you might have to replace the existing light or get a circuit board that does not have a light attached.If you do not have an LED light attached or you need to replace the LED light, here is what you are going to want to do:
– Find the section of the circuit board that has the LED input.
– There are no wires that need to be attached in this section. Instead, you need to find the positive (+) sign on the LED section of the circuit board.
– Insert the longer leg of the led diode into the positive side and the shorter leg of the LED diode into the negative side.
– Make sure it is secure. - Pierce the Lid (or top) of the Container
In this step, you are going to put the circuit board and the battery to the side while you prepare the lid. This is a fairly simple step but an important one.Take the lid (or top) off its container. Now, use the sharp tool or drill you collected when you gathered your materials and pierce the top. Here are a few safety and convention tips for making the hole:
– The hole only has to be big enough to pass the red and black wires through
– Be careful not to get your hands too close to the sharp object or drill
– Create the hole in the middle of the lid so that the solar light is stable
– Be aware of what is around you and what is under the lid. When the drill or the sharp object goes through the lid it could scrape or puncture whatever is below it - Connect the Circuit Board With the Solar Panel. This can be done by either the soldering method or using the nut like you did to connect the battery holder with the circuit board.
- Glue the Final Pieces Together. Glue the circuit board and the battery holder to the lid, right next to one another. (Make sure you do not glue the batteries themselves to the lid or they will not be able to be charged.)Additionally, ensure that the circuit board is secured directly under the panel. (The solar panel needs to be glued on top of the lid. Once all the components are glued in place, you can replace the lid and watch your homemade solar light illuminate your world.
To close, the more you know about solar power and its uses, outside the conventions of normal society, the better prepared you will be for everything that life throws at you. If you know how solar power works, you can help advance the field and possibly create something revolutionary. Having the ability to create a solar light from scratch helps you have more confidence in procuring your safety both in your home and outdoors.